Whilst I would always try and encourage professional printing for that unbeatable quality in wedding stationery, if your budget is tight and you are looking at going down the DIY route, then have a think about the option of purchasing professionally designed stationery to print yourself – embrace the semi-DIY route and print your wedding invitations at home, that’s right, I said home. Printing your own wedding invitations cuts out the crafting faff and makes that pre-wedding prep that little bit easier. A tight budget does not mean that you have to sacrifice on personalisation and quality, professional design.
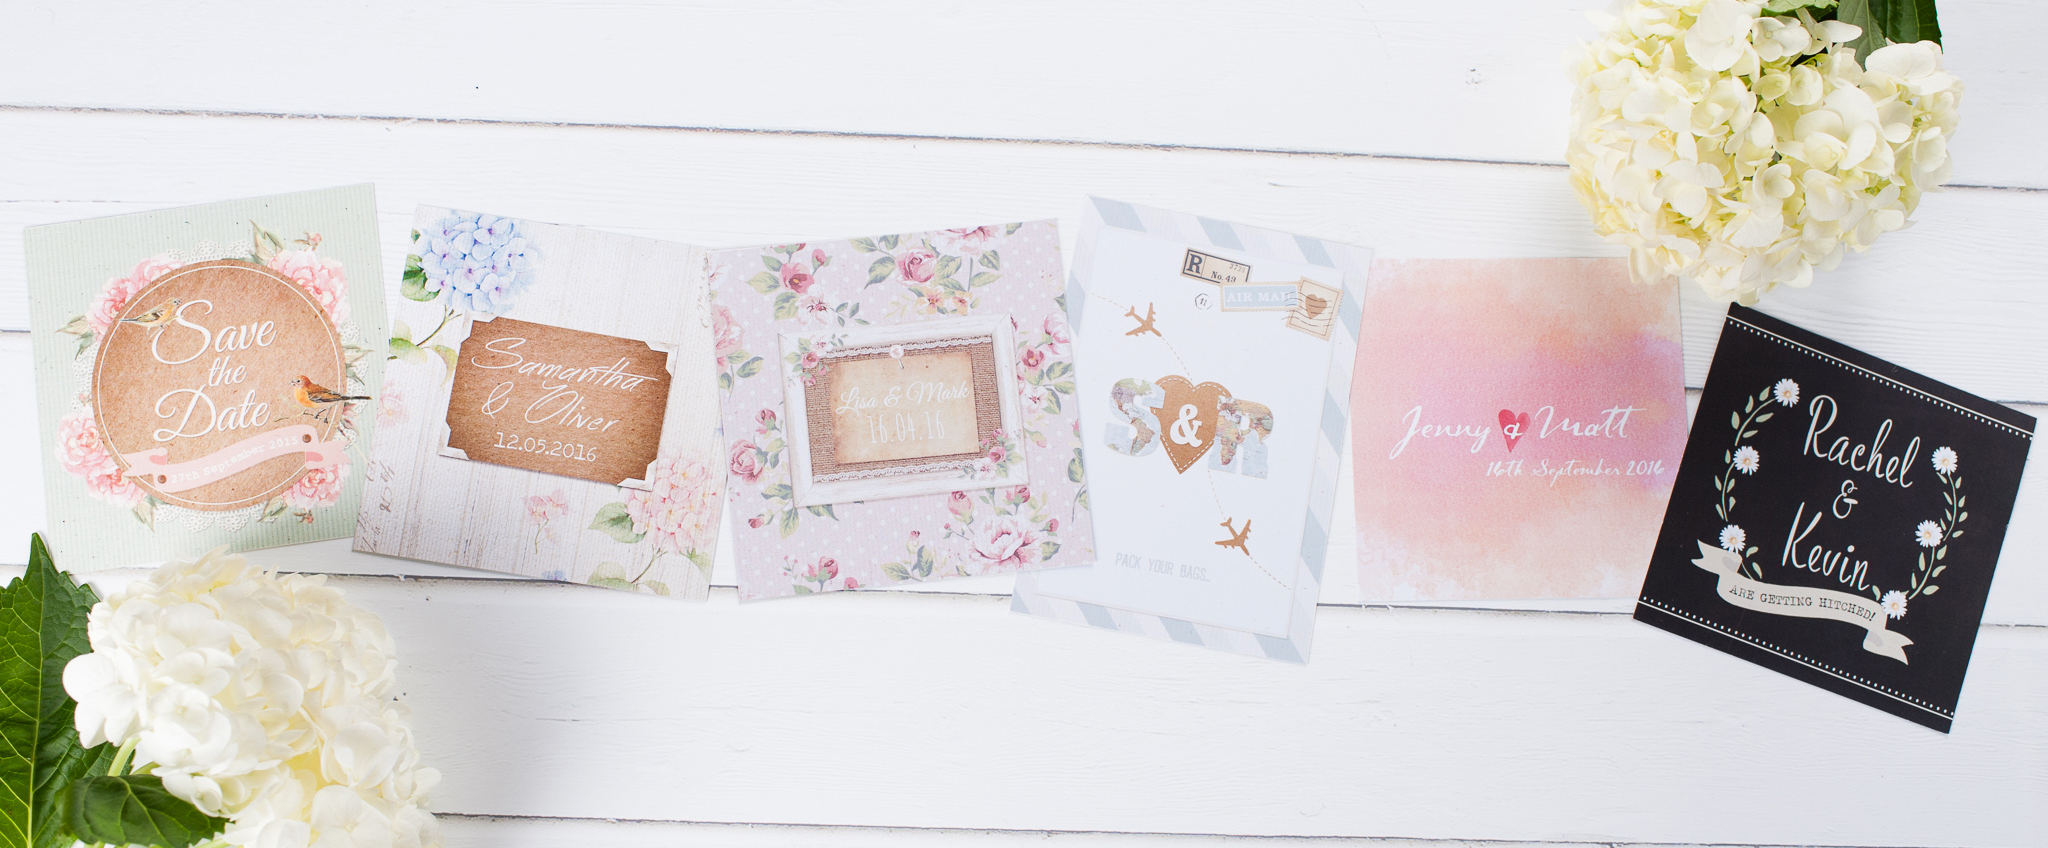
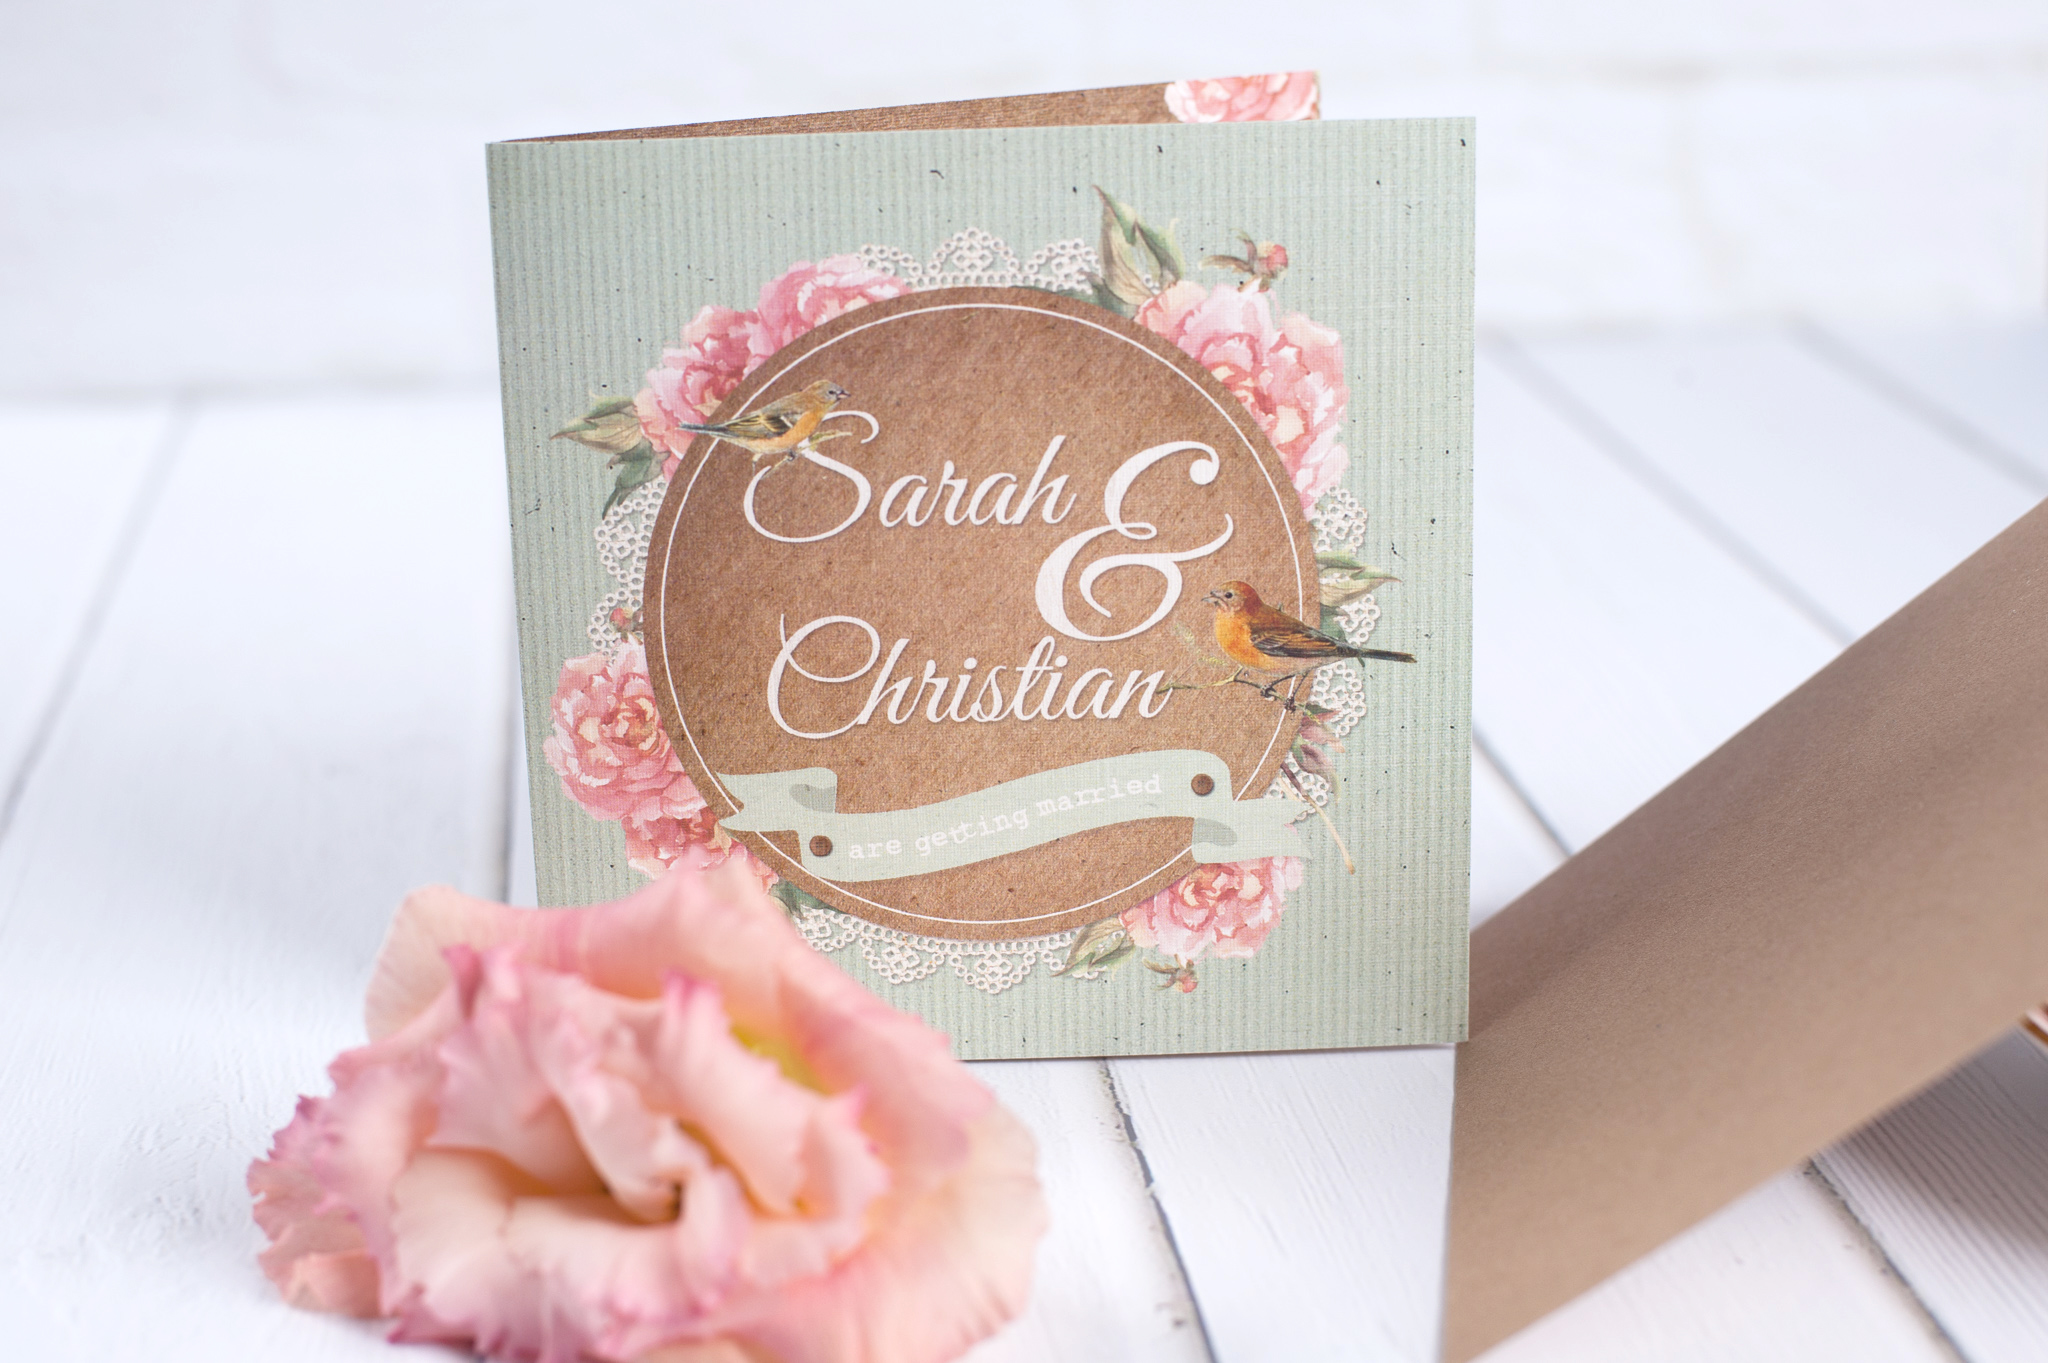
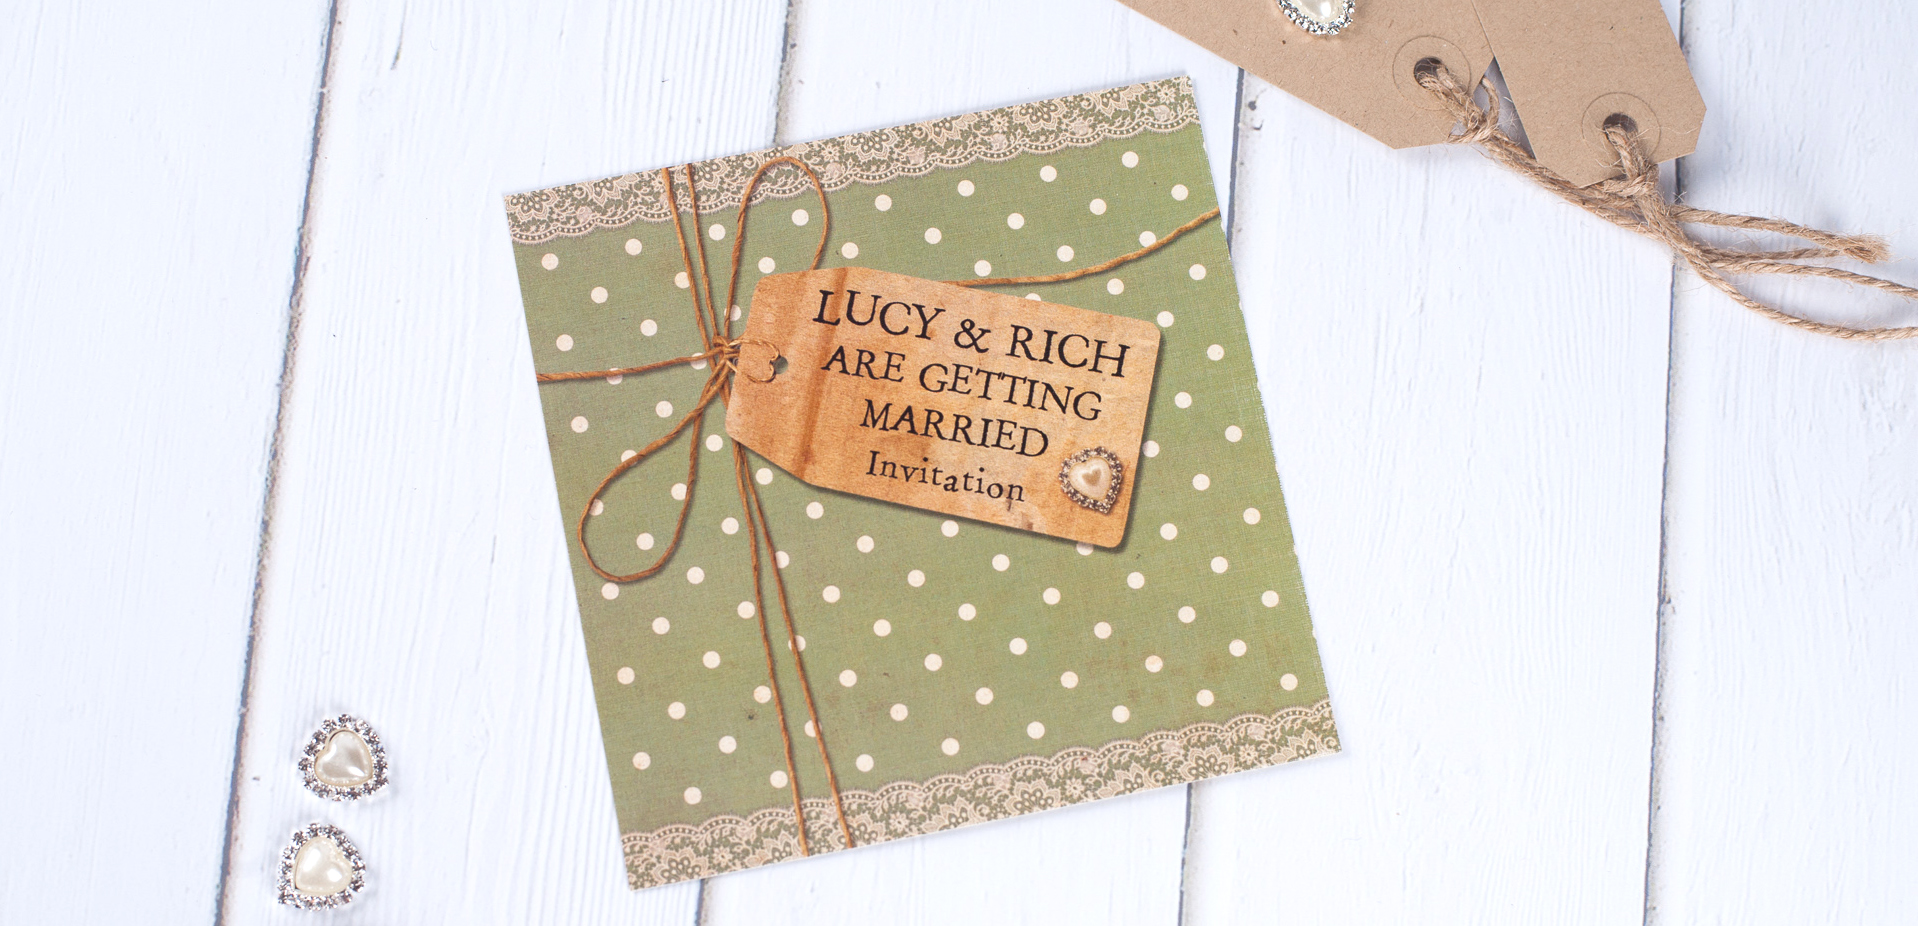
For a fraction of the cost I offer couples the chance to have a bespoke wedding invitation designed, or to personalise any of my off-the-peg range, and then purchase a downloadable PDF, which they can then decide to print at home or send to a trusted printers.
Here are my tips for printing your own wedding invitations:
Give Yourself Plenty of Time
Be patient! Double the amount of time you think you will need to get your wedding invitations done because printing takes longer than most people think. Designing, printing, cutting, addressing, and posting all take time. A good rule of thumb to work by is: If you believe you can complete the wedding invitations in two weeks, give yourself a month. Good wedding etiquette is to post your invitations 8-12 weeks before your wedding date, leaving guests at least a month to reply before your response date, so that is also something to keep in mind!
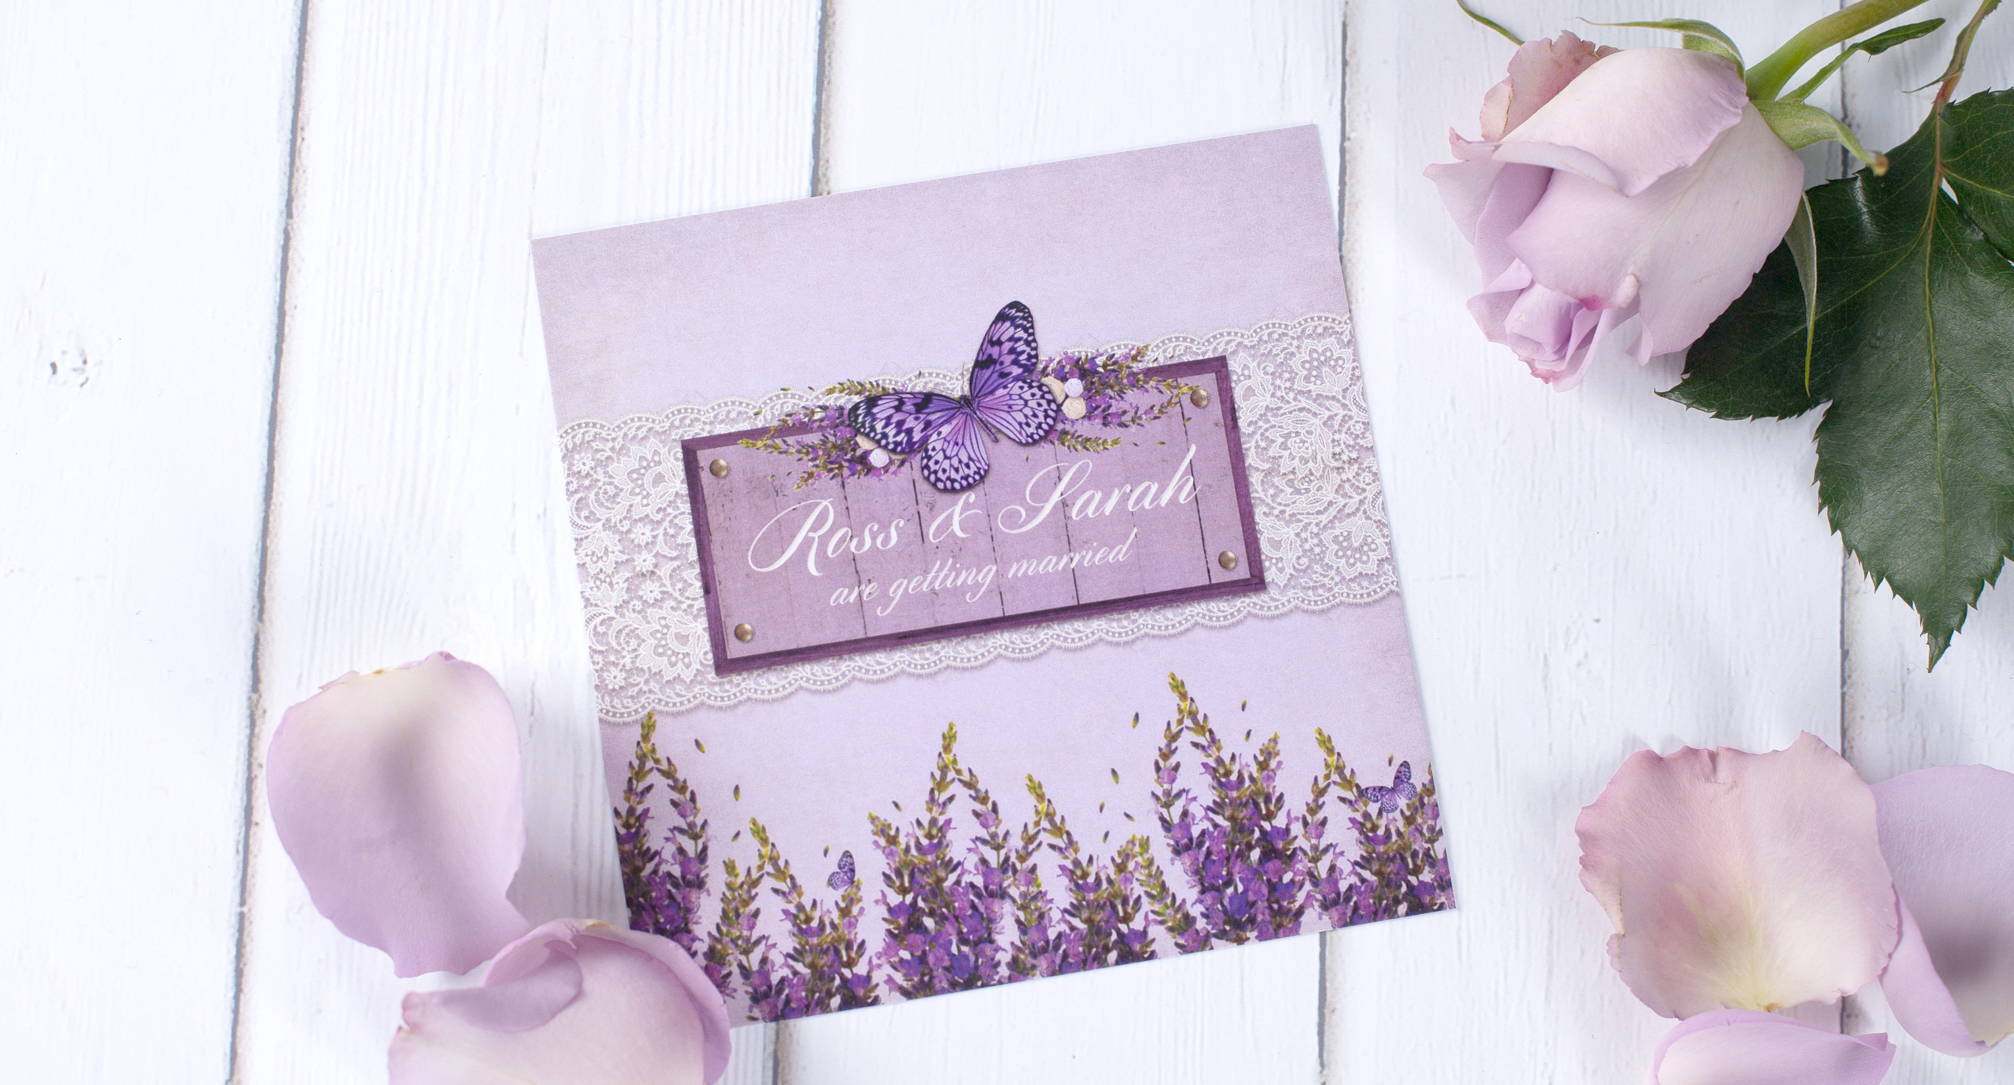
Pick a Wedding Style
Firstly, decide on a wedding style. Talk to your fiancé about what colours you would like as well as any theme you want to follow.
Define Your Budget
After deciding on a style, set a budget you can work within. Even if you are printing at home, the cost of ink and paper will add up, especially if you opt for high-quality paper stock.
Ask yourself the following questions, which will have an impact on the cost of your printed wedding invitations:
What size do you want your invitations to be?
Will you be adding any embellishments to the printed invitations?
Do you want your invitations to be flat or folded?
What kind of paper/card stock would you like to print on?
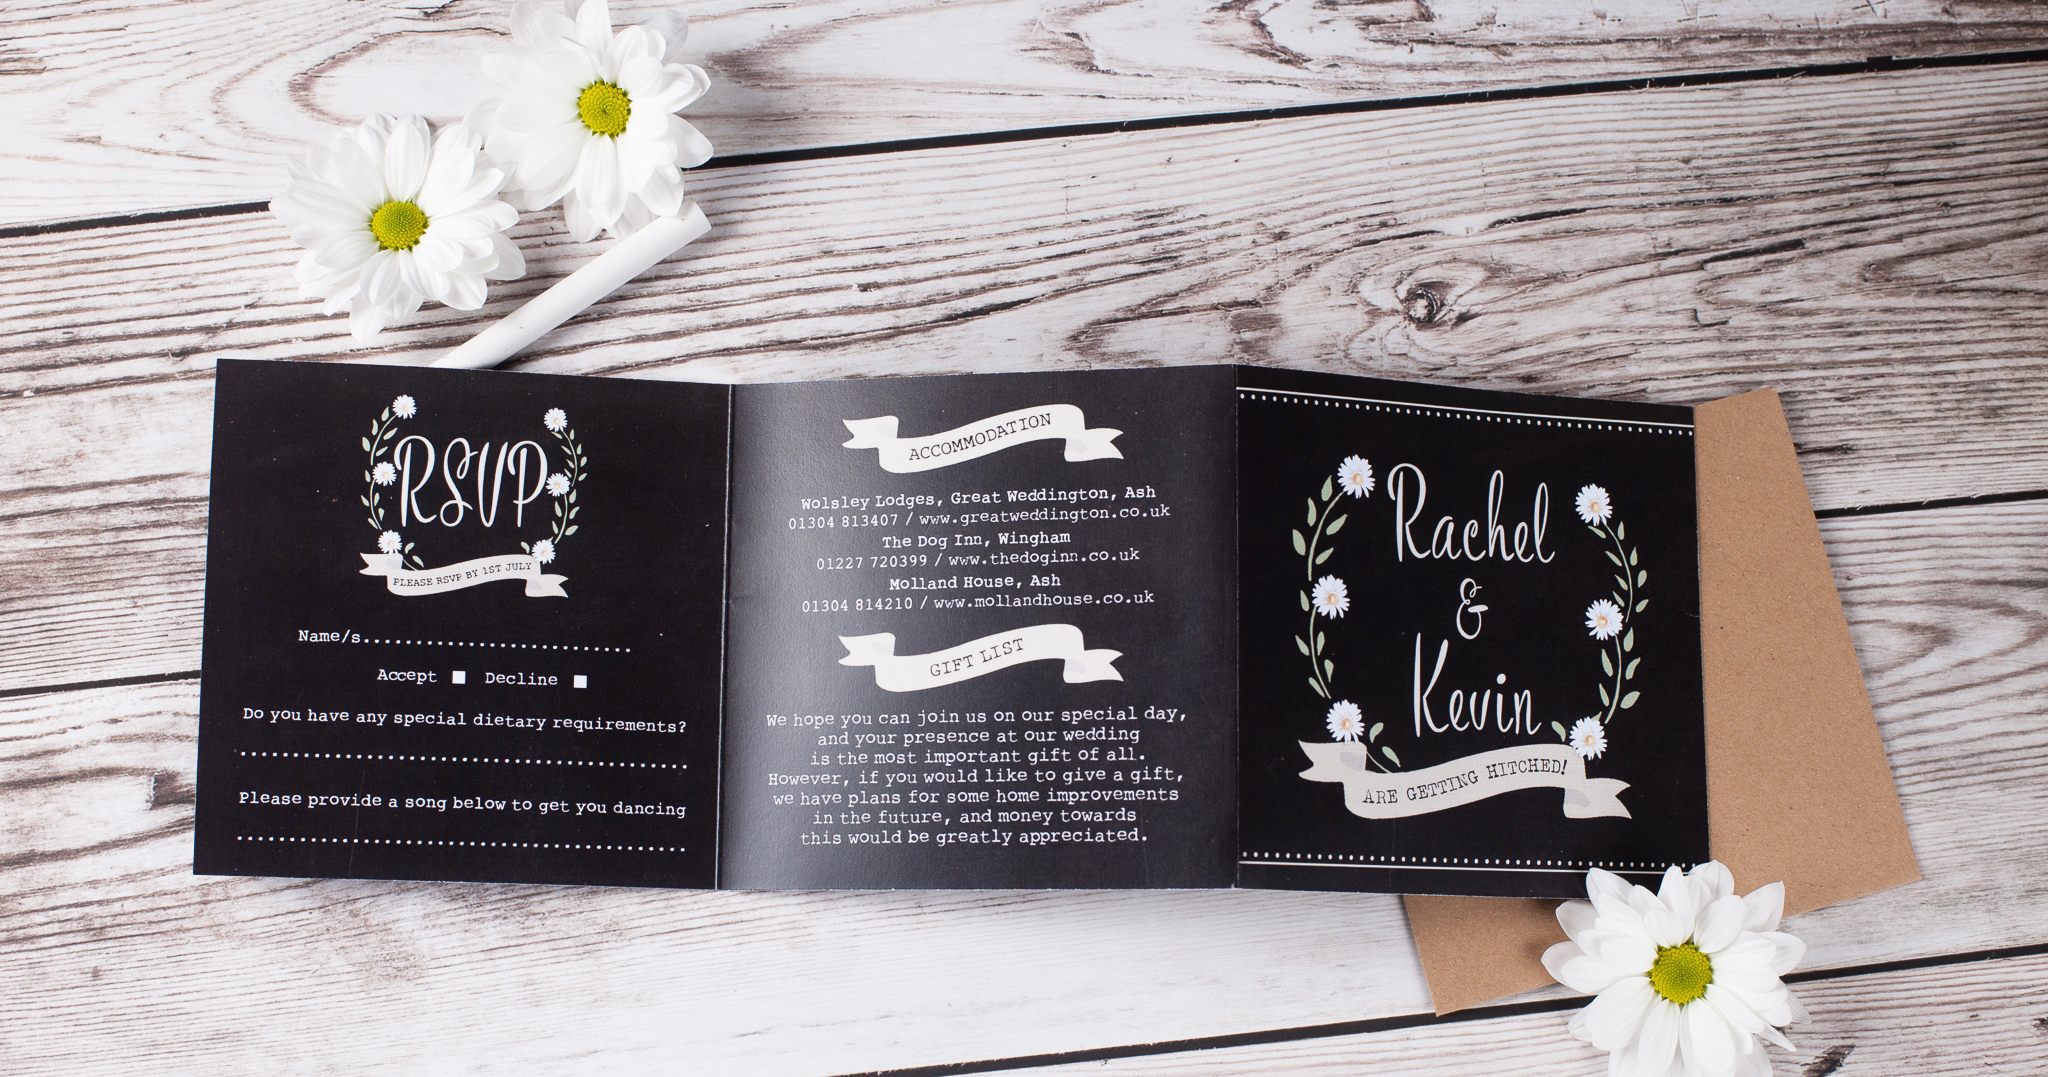
Also consider if your printer is capable of printing the invite style you are looking to have. For example a 2-fold invite when flat is longer than an A4 piece of paper, so without a larger printer at home these would have to be done professionally, so will therefore cost you more to produce.
(Please note Heart Invites Concertina Invites require an A3 printer or bigger)
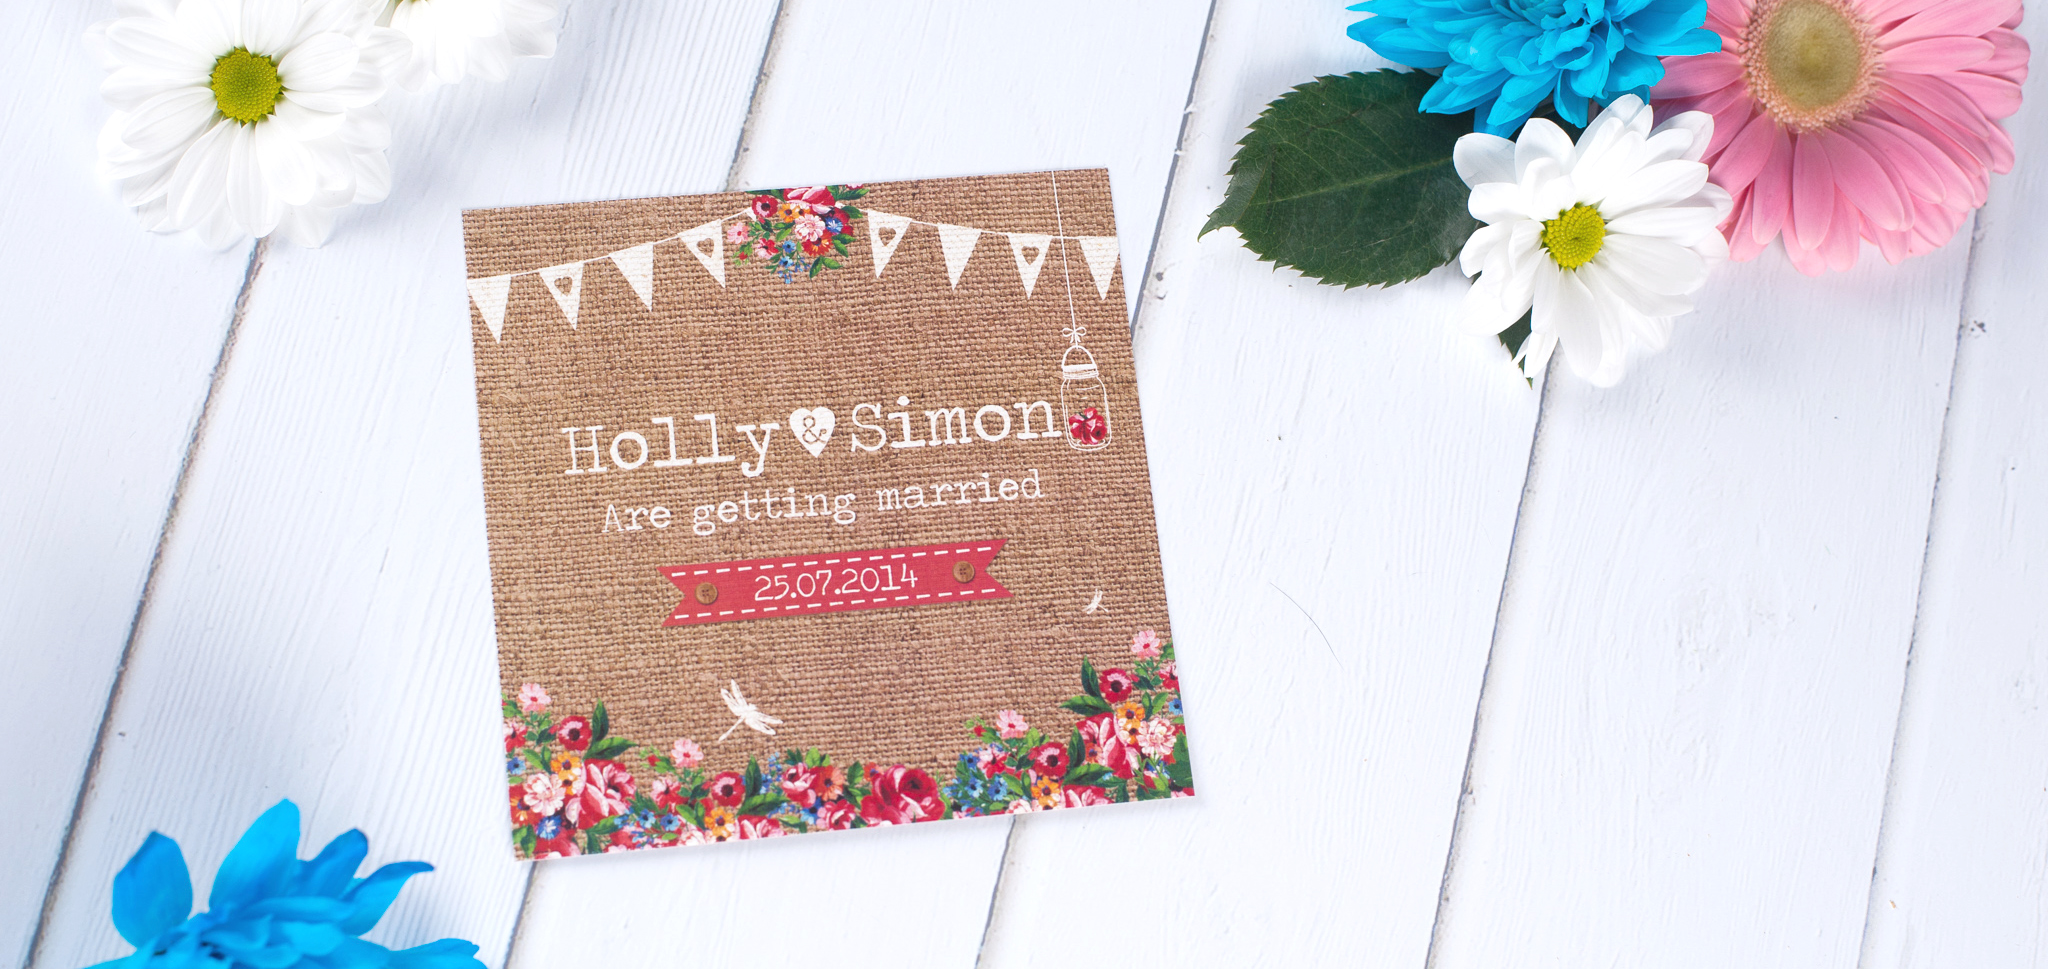
Pick a Printer-Friendly Design
Even though you are opting to print your wedding invitations yourself, you still want them to look hot off the professional press. My top tip to you is to ensure that you use a design with bleed.
The trick to getting the most professional look is having a design that reaches the edge of paper (no white margins). It is achieved by creating a design slightly larger than the final cut size. The extra will be trimmed off and discarded. For example my 130mm square invite are designed at 136mm to allow 3mm bleed all the way round the edge. The print file is then supplied with cut lines, which you can follow to cut through the bleed to ensure there are no white edges showing.
If you are using pre-cut invitation cards, it is best to avoid the outer edges completely and only put text and artwork in the centre of the wedding invitation. Most home printers can’t print right to the edge and your design may look cut-off.
Have a Play About with Your Printer
Ensure your home printer is up to the job and is in full working order. If you are printing double sided be sure to check this function works on your printer or that you can manually print onto the second side with no problems. If you are using a heavy weight paper stock it is best to use a printer with a rear feed as front feeds have to turn the paper over inside the printer.
Computer screens are great, but they are all calibrated differently and do not always give you a great depiction of what colour your printer is going to print. At-home printers tend to print a shade or two darker, while the cost effective online or local printers print a bit lighter. If you have any issues with colour try adjusting the colour balance before printing.

Paper Stocks
If you are ordering paper stocks online be sure to ask for samples prior to purchase. It is important that you are happy with the quality and paperweight and it is always a good idea to test a sheet through the printer to be safe in the knowledge that it prints on well. Certain paper types on home printers with a slightly shiny surface can stop the ink from absorbing into the paper which can result in smudges or a long and careful drying time! Also keep in mind that colour papers will affect the colour of the design you print on top, so pale colours work best.
Plan Your Ink Usage
Consider how much ink your invitations will use.
If your chosen design is colour and design heavy consider opting for an online or print shop to do the printing for you.
Printing White Text
If you print on colour paper stock, any part that you see as “white” on your monitor artwork will be “unprinted” so once your card is printed the white part will appear the same colour as the paper stock that you are printing on. So if you want it white, print on white paper!
Consider Your Envelopes
Do not leave envelopes to the last minute. Consider your options, something simple and classic with white or cream or a pop of colour to compliment your wedding invitation. Whichever you choose be sure to order a sample to check the colour and quality before buying them all.
Test Print
Do a test print before you try printing all of your wedding invitations. Don’t just look at the design on your screen! Allowing enough time for a test run for size and colour will make the final printing process run much smoother.
Get Printing
Be patient and have fun! The process may get tedious, but usually the outcome is well worth it. Ensure that you have extra supplies to hand for mistakes and re-prints. If you find your printer just isn’t up for the job or that you aren’t as patient as you had hoped (!) remember that a professional service online or locally is always an option or you can always choose to have them printed by me, for a full quote click here.
Cutting Your Invites
My digital invitation files include cut marks on the PDFs. This will allow for easy home-cutting. It is a good idea to invest in a paper cutter (not scissors!). That will give you a clean and even cut.
That just about sums up my advice for printing your own wedding invitations. I hope you have all found it useful should you be opting for this semi-DIY option. Should you have any further questions in regards to my Print from Home service and how to print your own wedding invites please get in touch at info@heartinvites.com
Lauren xx
Photography by: Dover Design Photography